Tampilkan postingan dengan label CWM. Tampilkan semua postingan

How To Install Samsung SGH-I577 AT&T Android 4.4.2 KitKat PAC-man ROM Guide

AT&T Samsung Exhilarate SGH-I577 can be updated to latest Android 4.4.2 KitKat. The upgrade is possible with the help of custom ROM PAC-man. The development team of PAC-man ROM finally introduced Android 4.4.2 KitKat based PAC-man ROM for AT&T Samsung Exhilarate SGH-I577. Which means, you can download and install custom firmware PAC-man to update your AT&T Samsung Exhilarate SGH-I577 to latest Android 4.4.2 KitKat. AT&T Samsung Exhilarate SGH-I577 comes with good hardware spec, hence is capable to run PAC-man smoothly. PAC-man ROM consist various features of Paranoid Android, AOKP and CyanogenMod. The link I'm sharing is PAC-man nightly build. The good thing about nightly build is, you will receive update daily and bugs are fixed faster as well as new feature introduced regularly. Continue reading this guide to know how to install Android 4.4.2 KitKat based PAC-man custom ROM on AT&T Samsung Exhilarate SGH-I577.
PAC-man comes with various useful customization. Since, PAC-man is based on Android 4.4.2 KitKat, you may like to know what's new on it. Some of the cool Android 4.4.2 KitKat features that you will enjoy is Screen Recording, Tap to Pay (Google Wallet for everyone), NFC emulation for non nfc devices, 14% less memory usage, cloud printing from Gallery, Google Home is the new Launcher, Core System Processes Trimmed, apps are efficient and responsive on all devices, the all new 'procstats tool details' memory use, Full-screen Immersive mode, seamless change in resolution during media playback, Phone dialer got local business detection, redesigned Quickoffice and many more.
Please note, not all Android 4.4.2 KitKat feature yet ported to PAC-man ROM.

Another thing you should note, this is nightly build, hence expect some bugs in it. All bugs and issues expected to be fixed as development progress towards a stable PAC-man build.
Warning!
This tutorial is only for AT&T Samsung Exhilarate SGH-I577. Don’t try this guide on any other Android device. Also, we (Android Pulp Team) are not responsible for any damage caused due to the instruction given in this page. Try this at your own risk. However, it is very unlikely that your device will be damaged if you follow all the instructions as it is which are mentioned in procedure.  
Pre Requisites:

1. ROM flashing require you to wipe your internal memory data, hence you required to backup your device data. You can follow our ultimate backup guide.

2.  Make sure your device have at least 60% battery power. If your phone shut down during installation then there is good chance to brick your device.You can install an app like Battery Notifier BT Free on your Android device to check it easily.

3. You must have USB Driver Installed for AT&T Samsung Exhilarate SGH-I577 in your PC. [Download USB Drivers]

4. Make sure USB Debugging is enabled otherwise it's won't be possible to transfer file between PC and AT&T Samsung Exhilarate SGH-I577. [Guide].

5. Your device have latest CWM version 6.0.4.4 and up or TWRP 2.6.3.1 and up installed. [General Guide]

If you done everything that we mentioned above then you are ready to follow step-by-step guide on how to install Android 4.4.2 KitKat based PAC-man ROM on AT&T Samsung Exhilarate SGH-I577.

File Required(Download by clicking on it)
  1. PAC-man For AT&T Samsung Exhilarate SGH-I577  [Filename: pac_exhilarate-nightly-20140514.zip]
  1. Google Apps [Filename: pa_gapps-stock-4.4.2-20140207-signed.zip]
How to Install Android 4.4.2 KitKat based PAC-man ROM on AT&T Samsung Exhilarate SGH-I577
  1. Connect your device to PC using USB cable and then copy downloaded files to the SD card of your device. Important: Don’t extract any files.
  1. Disconnect USB and then turn off your AT&T Samsung Exhilarate SGH-I577.
  1. Now, Boot into recovery mode. To do so, press and hold Volume Up, Volume Down and Power button together until Samsung logo flash twice and then leave the buttons. You should see recovery menu soon. In recovery use Volume Keys to navigate between option and Power or Home Key to select an option. Alternatively try this: Recovery Mode without Key Combination.
  1. Perform a Nandroid backup of your existing ROM that you can restore later if this new ROM not work or you want to go back into your previous ROM. To perform a backup, select Backup and Restore, then on the next screen, select Backup again. Go back to main recovery menu after backup is complete.
  1. Now, perform data wiping task. To do so, select wipe data/factory reset, then select Yes on next screen to confirm your action. Wait few minutes till the data wipe is complete. Now come back to CWM recovery main menu. Select wipe cache partition and after wiping process done, select Wipe Dalvik Cache under advance option to perform Dalvik cache wiping.
  1. Select install zip from sdcard, then select choose zip from sdcard. Now, locate the PAC-man Zip file that you copied earlier in Step 1 and select it by pressing Power button. Confirm installation by selecting Yes – Install _____.zip on the next screen. The ROM installation will begin.
  1. Once the ROM installation process end, repeat the step 6 but choose the pa_gapps-stock-4.4.2-20140207-signed.zip file instead of ROM zip to install the Google apps package.
  1. When installation is completed, go back to the main recovery menu and select reboot system now to reboot your AT&T Samsung Exhilarate SGH-I577 and boot up into Android 4.4.2 KitKat ROM PAC-man. 
  1. Returning to Previous ROM: To go back to your previous ROM, boot into recovery, select backup and restore then restore your previous ROM by selecting it from the list.
Tutorial For TWRP Recovery Users:
  1. Connect your device to PC using USB cable and then copy downloaded files to the SD card of your device. Important: Don’t extract any files.
  1. Disconnect USB and then turn off your AT&T Samsung Exhilarate SGH-I577.
  1. Now, Boot into recovery mode. To do so, press and hold Volume Up, Volume Down and Power button together until Samsung logo flash twice and then leave the buttons. You should see recovery menu soon. Alternatively try this: Recovery Mode without Key Combination.
  1. Create a Backup using TWRP Backup Option.
  1. Perform a Factory Reset (this will delete all apps and their settings and game progress). To do this, Tap on Wipe, then at the bottom of the screen do a Swipe on the ‘Swipe to factory reset‘ option.
  1. Now its time to add zip file for flashing. Tap on Install, then browse to the location where you saved the files and tap on the PAC-man Zip file. Then tap on Add More Zips, and add pa_gapps-stock-4.4.2-20140207-signed.zip. Now at the bottom of the screen, do a swipe on the Swipe to confirm flash option to begin flashing.
  1. When installation is completed, go back to the main recovery menu and tap on Reboot and then, tap on System to reboot your AT&T Samsung Exhilarate SGH-I577 and boot up into Android 4.4.2 KitKat ROM PAC-man.
  1. Returning to Previous ROM: To go back to your previous ROM, boot into recovery, select Backup then through Restore option, restore your previous ROM by selecting it from the list.
Congrats! Android 4.4.2 KitKat firmware based custom ROM PAC-man is now running on your AT&T Samsung Exhilarate SGH-I577. Now explore the latest Android 4.4.2 KitKat. [Note: If you find difficulties to run root only apps then it may be disabled. Do this then, enable developer settings first (tap the build number 8 times under about device), then enable root under Developer Settings].

Get Easily Rooted Sony Xperia Z2 With [Locked/Unlocked Bootloader] Guide & 4.4.2 Android Firmware Free Download

No doubt every one knows that Android is the most popular and well-known fascinating open source OS for mobiles gadgets that enables users to modify the system files and improve the performance of the device through custom kernels, mods, root apps and ROMs. To get most of the things from your Android device, the OS requires to be rooted. Rooting gives a free hand to Android users to the new world of customizations, ROMs, root apps and MODs etc. Here’s how to root Sony Xperia Z2 [Locked/Unlocked Bootloader]

DooMLoRD (Sony Developer) developed a RootKit that brings root access to the Sony Xperia Z2 with locked or unlocked bootloader.
This RootKit has been successfully tested on Xperia Z2 with firmware version 17.1.A.2.55/.6917.1.A.2.55/.69, but it should work on other firmwares also. According to the DooMLoRD the rootkit is very easy to use and you can use its upcoming versions on the Xperia Tablet Z2 and other Xperia devices.

Before Getting Started:

  • Create a proper backup of all your important data like SMS, MMS, Contents, Call Logs and Contacts etc.
  • Enable USB Debugging on your Xperia Z2.
  • Download the Community RootKit: Z2-Community_RootKit-v01.zip {MIRROR1}
  • Download & Install Sony USB Drivers on your PC.
  • Navigate to Settings -> Display and set the screen timeout to 10 min.
  • Enable Unknown sources option in Settings -> Security. 
  • Steps to Root Sony Xperia Z2
Follow the given steps to get the root access on your Xperia Z2:
Sony Xperia Z2 4.4.2 Ftf Firmware can be downloaded from here
Step No 1:- First of all extract the Z2-Community_RootKit.zip file that you’ve already downloaded from the above file and open the extracted folder.
Step No 2:- Now connect your Xperia Z2 with your PC via USB data cable.
Step No 3:- Here find the RUNME.bat and run it.
Step No 4:- A cmd window will be appeared on your PC.
Step No 5:- Just follow the on-screen instructions carefully.
Step No 6:- Reboot your Xperia Z2 after the root script is finished.
That’s all! Your Xperia Z2 has been successfully rooted by the Community RootKit, installed BusyBox and SU files on it.
To verify that either your device is properly rooted or not, download and install the Root Checker App from the Google Play Store or just click on the following given link.
These were the easy steps to Root Xperia Z2, if you have any query or facing problem regarding the above given guide then let us know in the comments area.

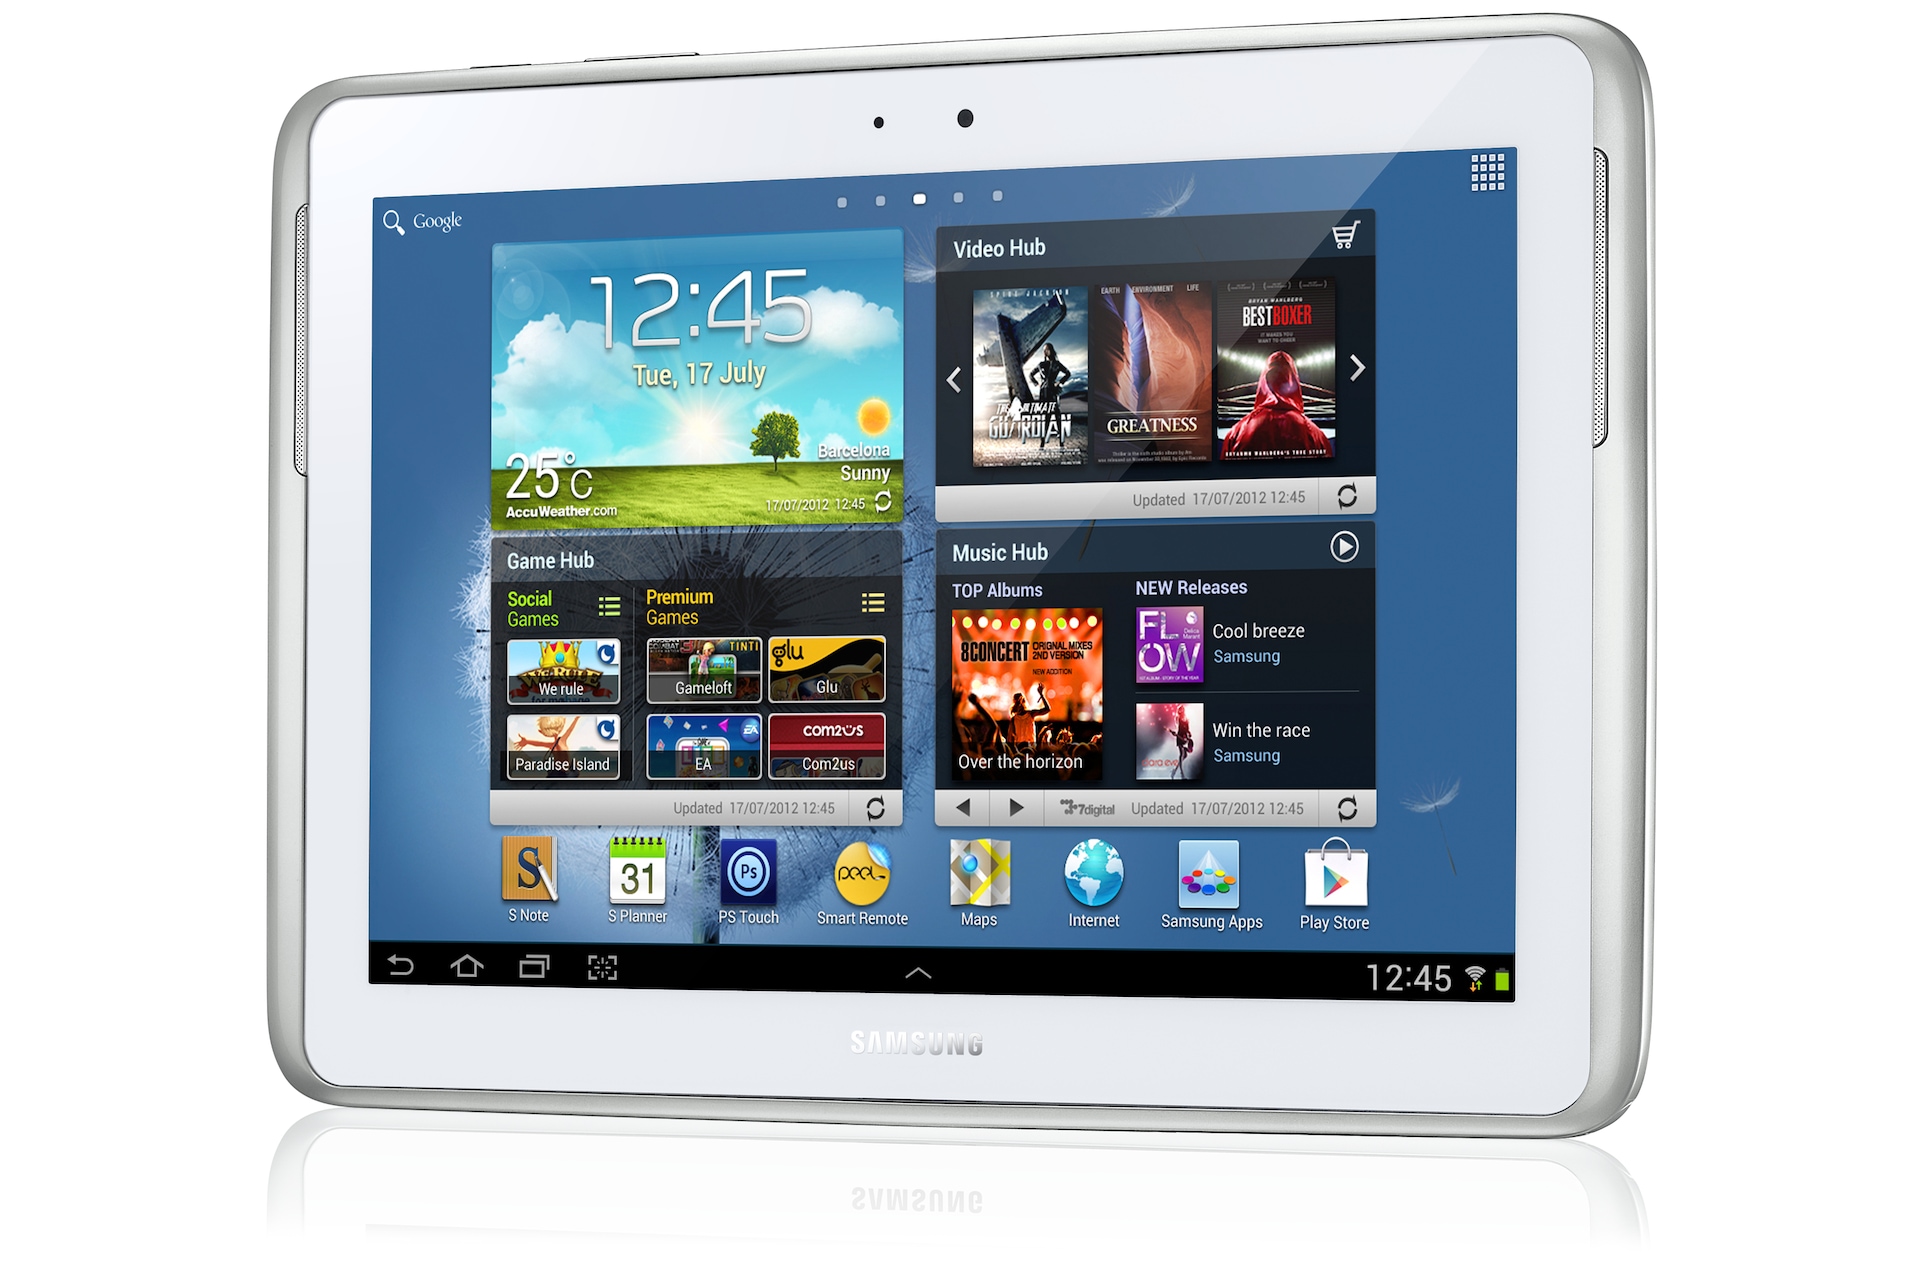
How to Root Galaxy Note 10.1 N8000 on Android 4.4.2 KitKat and Install CWM Recovery

Samsung Galaxy Note 10.1 (GT-N8000) users who wish to root and install ClockworkMod Recovery (CWM) on their devices, may follow our step-by-step guide below.

This tutorial uses PhilZ Touch recovery was developed and released by Recognized XDA-Developers, Phil3759. PhilZ Touch is a CWM Advanced Edition that adds all the features you could ever miss in CWM. Head over to the PhilZ Touch main thread to learn more about the features.

Disclaimer: Rooting voids the warranty of your device. We and the developer of this rooting procedures shall not be held responsible if any undesirable outcomes may happen to your device. use of this root guide is solely at your own risk!

Pre-Requisites
1. Install USB Drivers for Samsung Galaxy Note 10.1 on your computer.
2. Enable USB Debugging Mode on the note by navigating to Settings >> Developer Options.
3. Make a backup of all your important data before following the guide.
4. Ensure the battery of the note is charged more than 80 percent.
5. The CWM recovery works only on the Galaxy Note 10.1 (GT-N8000). Applying these on any incorrect variant might brick the device. Verify the model number of the Galaxy Note 10.1 by selecting Settings >> About Phone.

Files Required
1. CWM (Mirror Link) (philz_touch_6.41.6-n8000.tar.md5)
2. SuperSU (UPDATE-SuperSU-v1.91.zip) or the latest version
3. Odin 3.09

Steps to Install CWM Recovery on Galaxy Note 10.1 N8000
Step 1: Extract the Odin 3.09 .zip files using WinRAR/7-Zip/WinZip or any other extracting tool.
Step 2: Copy the SuperSU .zip file to the SD card of your device.
Step 3: Switch off the Galaxy Note 10.1. Then boot into Download Mode by pressing and holding Volume Down and Power buttons together until a construction Android robot icon with a warning triangle appears on screen. Now press the Volume Up button to enter Download Mode.
Step 4: Run Odin on the computer as an Administrator.
Step 5: Connect the Galaxy Note 10.1 to the computer using USB cable while it is in the Download Mode. Wait until Odin detects the device. When the device is connected successfully, the ID: COM box will turn to light blue with the COM port number. Additionally, the successful connected will be indicated by a message saying Added.
Step 6: In Odin, click the AP button and select the philz_touch_6.41.6-n8000.tar.md5 file. Make sure that the Re-Partition checkbox is NOT ticked.
Step 7: Double-check and click Start button in Odin. The installation process will now begin.
Step 8: Once the installation process completes, your note will restart and soon you will see a PASS message with green background in the left-most box at the very top of the Odin. You can now unplug the USB cable to disconnect it from the computer.

Steps to Root Galaxy Note 10.1 N8000 via CWM Recovery
Step 9: Boot the Galaxy Note 10.1 into CWM Recovery by pressing and holding Volume Up and Power buttons together.
Step 10: In CWM Recovery, select "Install zip from sdcard" option then navigate to the SuperSU .zip file that you copied earlier and confirm the installation.
Step 11: Once the installation process completes, return to main recovery menu and select "Reboot System Now".

Samsung Galaxy Note 10.1 N8000 running on Android 4.4.2 KitKat is now rooted successfully. You can now install any app that requires root permission. Verify the root status of the device by downloading Root Checker app from Google Play Store.

Note: Many Samsung devices store a flash counter that keeps track of how many times you have flashed custom firmwares to your device. Triangle Away can be used to reset the flash counter to zero.

Thank's to all fellas at XDA who first tried out this rooting technique. This method was originally posted via XDA-Developers original thread.

Read also:

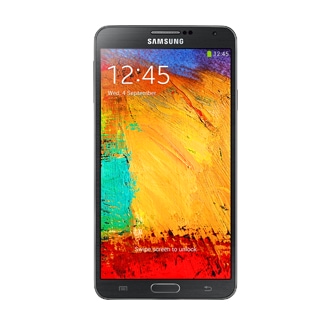
How to Root Galaxy Note 3 (Canadian) N900W8 on Android 4.4.2 KitKat and Install CWM/TWRP Recovery

Samsung Galaxy Note 3 (Canadian) N900W8 users who wish to root and install ClockworkMod Recovery (CWM) or Team Win Recovery Project (TWRP) on their devices, may follow our step-by-step guide below.

This tutorial uses CWM/TWRP recovery released by TeamWin and Senior Member of XDA-Developers, Chenglu. The custom recoveries allows Galaxy Note 3 users to root their devices without any difficulty.

Disclaimer: Rooting voids the warranty of your device. We and the developer of this rooting procedures shall not be held responsible if any undesirable outcomes may happen to your device. use of this root guide is solely at your own risk!

Note: This method will trip the KNOX warranty void status.

Pre-Requisites
1. Install USB Drivers for Samsung Note 3 on your computer.
2. Enable USB Debugging Mode on the phone by navigating to Settings >> Developer Options.
3. Make a backup of all your important data before following the guide.
4. Ensure the battery of the phone is charged more than 80 percent.
5. The CWM/TWRP recovery works only on the Canadian version of Galaxy Note 3 (SM-N900W8). Applying these on any incorrect variant might brick the device. Verify the model number of the Galaxy Note 3 by selecting Settings >> About Phone.

Files Required
1. CWM (Mirror Link) or TWRP (Mirror Link)
2. SuperSU (UPDATE-SuperSU-v1.91.zip) or the latest version
3. Odin 3.07

Steps to Install CWM/TWRP Recovery on Galaxy Note 3 (Canadian) N900W8
Step 1: Extract the Odin 3.07 .zip file using WinRAR/7-Zip/WinZip or any other extracting tool.
Step 2: Copy the SuperSU .zip file to the SD card of your phone.
Step 3: Switch off the Galaxy Note 3. Then boot the device into Download Mode by pressing and holding Volume Down, Home and Power buttons together until a construction Android robot icon with a warning triangle appears on screen. Now press the Volume Up button to enter Download Mode.
Step 4: Run Odin on the computer as an Administrator.
Step 5: Connect the Galaxy Note 3 to the computer using USB cable while it is in the Download Mode. Wait until Odin detects the device. When the device is connected successfully, the ID: COM box will turn to light blue with the COM port number. Additionally, the successful connected will be indicated by a message saying Added.
Step 6: In Odin, click the PDA button and select the CWM/TWRP recovery .tar file. Verify that Auto Reboot and F. Reset Time checkboxes are selected. Also, ensure the Re-Partition option is NOT selected.
Step 7: Double-check and click Start button in Odin. The installation process will now begin.
Step 8: Once the installation process completes, your phone will restart and soon you will see a PASS message with green background in the left-most box at the very top of the Odin. You can now unplug the USB cable to disconnect it from the computer.

Steps to Root Galaxy Note 3 (Canadian) N900W8 via CWM Recovery
Step 9: Reboot the device into CWM recovery by pressing and holding Volume Up, Home and Power buttons together.
Step 10: In CWM recovery, select "install zip from sdcard" and then select "choose zip from sdcard". Now, navigate to the SuperSU .zip file that you copied earlier and confirm the installation by selecting Yes.
Step 11: Once the installation process completes, return to main recovery menu and select "reboot system now".

Samsung Galaxy Note 3 (Canadian) N900W8 running on Android 4.4.2 KitKat is now rooted successfully. You can now install any app that requires root permission. Verify the root status of the device by downloading Root Checker app from Google Play Store.

Note: Many Samsung devices store a flash counter that keeps track of how many times you have flashed custom firmwares to your device. Triangle Away can be used to reset the flash counter to zero.

How to Fix "Unfortunately, SuperSU has stopped"?
Step 1: Download and install the latest APK of SuperSU on your device.
Step 2: Open SuperSU app (update the binary if prompted) and allow it to disable KNOX.
Step 3: Reboot your device.

Thank's to all fellas at XDA who first tried out this rooting technique. This method was originally posted via XDA-Developers original thread.

Read also:

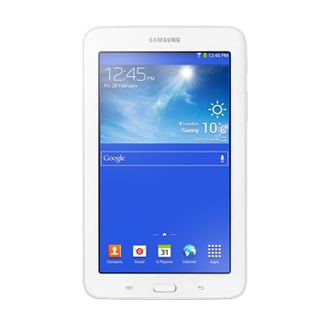
How to Root Galaxy Tab 3 Lite (Wi-Fi) SM-T110 on Android 4.2.2 Jelly Bean and Install CWM/TWRP Recovery

Samsung Galaxy Tab 3 Lite (Wi-Fi) SM-T110 users who wish to root and install ClockworkMod Recovery (CWM) or Team Win Recovery Project (TWRP) on their devices, may follow our step-by-step guide below.

This tutorial uses Custom Recoveries and Universal Root Package released by XDA-Developers members, gr8nole and ketut.kumajaya respectively. It allows Galaxy Tab 3 Lite users to root their devices without any difficulty.

Disclaimer: Rooting voids the warranty of your device. We and the developer of this rooting procedures shall not be held responsible if any undesirable outcomes may happen to your device. use of this root guide is solely at your own risk!

Pre-Requisites
1. Install USB Drivers for Samsung Galaxy Tab 3 Lite on your computer.
2. Enable USB Debugging Mode on the device by navigating to Settings >> Developer Options.
3. Make a backup of all your important data before following the guide.
4. Ensure the battery of the device is charged more than 80 percent.
5. The Custom Recoveries and Universal Root Package works only on the Wi-Fi version of Galaxy Tab 3 Lite (SM-T110). Applying these on any incorrect variant might brick the device. Verify the model number of the Galaxy Tab 3 Lite by selecting Settings >> About Phone.

Files Required
1. Custom Recoveries (choose either one):
  • CWM (Mirror Link) (T110.CWM.6.0.4.7.recovery.tar.zip)
  • TWRP (Mirror Link) (T110.TWRP.2.6.3.0.recovery.tar.zip)
  • TWRP (Mirror Link) (T110.TWRP2.7.0.0.recovery.tar.zip)
2. Universal Root Package (Mirror Link) (android-armeabi-universal-root-signed.zip)
3. Odin 3.07

Note: You can also watch THIS VIDEO tutorial for performing the instructions listed below.

Steps to Install CWM/TWRP Recovery on Galaxy Tab 3 Lite (Wi-Fi) SM-T110
Step 1: Extract the CWM/TWRP .zip and Odin 3.07 .zip files using WinRAR/7-Zip/WinZip or any other extracting tool.
Step 2: Copy the Universal Root Package .zip file to the SD card of your device.
Step 3: Switch off the Galaxy Tab 3 Lite. Then boot into Download Mode by pressing and holding Volume Down, Home and Power buttons together until a construction Android robot icon with a warning triangle appears on screen. Now press the Volume Up button to enter Download Mode.
Step 4: Run Odin on the computer as an Administrator.
Step 5: Connect the Galaxy Tab 3 Lite to the computer using USB cable while it is in the Download Mode. Wait until Odin detects the device. When the device is connected successfully, the ID: COM box will turn to light blue with the COM port number. Additionally, the successful connected will be indicated by a message saying Added.
Step 6: In Odin, click the PDA button and select the recovery.tar.md5 file. Make sure that the Auto Reboot and Re-Partition checkboxes are NOT selected.
Step 7: Double-check and click Start button in Odin. The installation process will now begin.
Step 8: Once the installation process completes, you will see a PASS message with green background in the left-most box at the very top of the Odin. You can now unplug the USB cable to disconnect the device from the computer.

Steps to Root Galaxy Tab 3 Lite (Wi-Fi) SM-T110 via CWM Recovery
Step 9: Boot the Galaxy Tab 3 Lite into CWM Recovery by pressing and holding Volume Up, Home and Power buttons together.
Step 10: In CWM Recovery, select "install zip from sdcard" and then select "choose zip from sdcard". Now, navigate to the Universal Root Package .zip file that you copied earlier and confirm the installation by selecting Yes.
Step 11: Once the installation process completes, return to main recovery menu and select "reboot system now".

Samsung Galaxy Tab 3 Lite (Wi-Fi) SM-T110 running on Android 4.2.2 Jelly Bean is now rooted successfully. You can now install any app that requires root permission. Verify the root status of the device by downloading Root Checker app from Google Play Store.

Note: Many Samsung devices store a flash counter that keeps track of how many times you have flashed custom firmwares to your device. Triangle Away can be used to reset the flash counter to zero.

Thank's to all fellas at XDA who first tried out this rooting technique. This method was originally posted via XDA-Developers original thread.

Read also: How to Update Galaxy Tab 3 Lite (Wi-Fi) SM-T110 with Android 4.2.2 XXUANB2 Jelly Bean Official Firmware

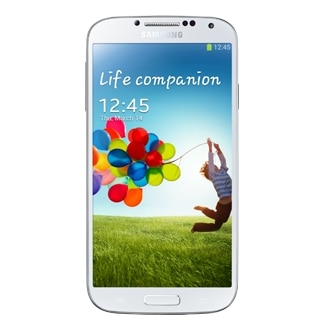
How to Root Galaxy S4 I9500 on Android 4.4.2 KitKat and Install CWM Recovery

Samsung Galaxy S4 I9500 users who wish to root and install ClockworkMod Recovery (CWM) on their devices, may follow our step-by-step guide below.

This tutorial uses PhilZ Touch Recovery released by Recognized XDA-Developers, Phil3759. PhilZ Touch is a CWM Advanced Edition that adds all the features you could ever miss in CWM. Head over to the PhilZ Touch main thread to learn more about the features.

Disclaimer: Rooting voids the warranty of your device. We and the developer of this rooting procedures shall not be held responsible if any undesirable outcomes may happen to your device. use of this root guide is solely at your own risk!

Pre-Requisites
1. Install USB Drivers for Samsung Galaxy S4 on your computer.
2. Enable USB Debugging Mode on the phone by navigating to Settings >> Developer Options.
3. Make a backup of all your important data before following the guide.
4. The Galaxy S4 should be factory unlocked and not locked to any particular carrier.
5. Ensure the battery of the phone is charged more than 80 percent.
6. The CWM recovery works only on the Galaxy S4 with model number GT-I9500. Applying these on any incorrect variant might brick the device. Verify the model number of the Galaxy S4 by selecting Settings >> About Phone.

Files Required
1. CWM (Mirror Link)
2. KNOX Removal (Mirror Link)
3. Odin 3.07

Steps to Root Galaxy S4 I9500 Running on Android 4.4.2 KitKat Firmware
Step 1: Extract the Odin 3.07 .zip file using WinRAR/7-Zip/WinZip or any other extracting tool.
Step 2: Copy the KNOX Removal .zip file to the SD card of your phone.
Step 3: Switch off the Galaxy S4. Then boot into Download Mode by pressing and holding Volume Down, Home and Power buttons together until a construction Android robot icon with a warning triangle appears on screen. Now press the Volume Up button to enter Download Mode.
Step 4: Run Odin on the computer as an Administrator.
Step 5: Connect the Galaxy S4 to the computer using USB cable while it is in the Download Mode. Wait until Odin detects the device. When the device is connected successfully, the ID: COM box will turn to light blue with the COM port number. Additionally, the successful connected will be indicated by a message saying Added.
Step 6: In Odin, click the PDA button and select the CWM recovery .tar.md5 file. Make sure that the Re-Partition checkbox is NOT selected.
Step 7: Double-check and click Start button in Odin. The installation process will now begin.
Step 8: Once the installation process completes, your phone will restart and soon you will see a PASS message with green background in the left-most box at the very top of the Odin. You can now unplug the USB cable to disconnect it from the computer.

Step 9: Switch off the Galaxy S4. Then boot into CWM recovery by pressing and holding Volume Up, Home and Power buttons together.
Step 10 (optional): In CWM recovery, select "Install Zip" then select "Choose zip from sdcard". Now, navigate to the KNOX Removal .zip file that you copied earlier and confirm the installation by selecting Yes.
Step 11: Go to "Philz Settings" and select "Re-root system (SuperSU)". Then confirm by selecting "Yes - Apply SuperSU".
Step 12: Return to main recovery menu and select "Reboot System Now".

Step 13: Install SuperSU from Google Play Store.
Step 14: Open SuperSU app and update the binaries as normal.
Step 15: Reboot your device.

Samsung Galaxy S4 I9500 running on Android 4.4.2 KitKat is now rooted successfully. Open the app drawer of the phone and check for an app called SuperSU. Verify the root status of the device by downloading Root Checker app from Google Play Store.

How to Fix "Unfortunately, SuperSU has stopped"?
Step 1: Download and install the latest APK of SuperSU on your device.
Step 2: Open SuperSU app (update the binary if prompted) and allow it to disable KNOX.
Step 3: Reboot your device.

Thank's to all fellas at XDA who first tried out this rooting technique. This method was originally posted via XDA-Developers.

Read also: